As a senior, I’ve been having my mom take photos of me at every opportunity. Instead of shelling out hundreds of dollars for one senior photoshoot that’ll represent me in only one season, we’ve been taking several afternoons to take pictures in different locations, with other people, new props, etc. While I can’t take the photos myself (thanks, Mom!), I’m the one who edits them.
We went to Grinter Farms in Lawrence, KS (my future college town!) this summer to take photos with the gorgeous sunflower field and I’m just now getting around to edit these. This field is incredible and I definitely recommend stopping by if you’re in Kansas in summer!
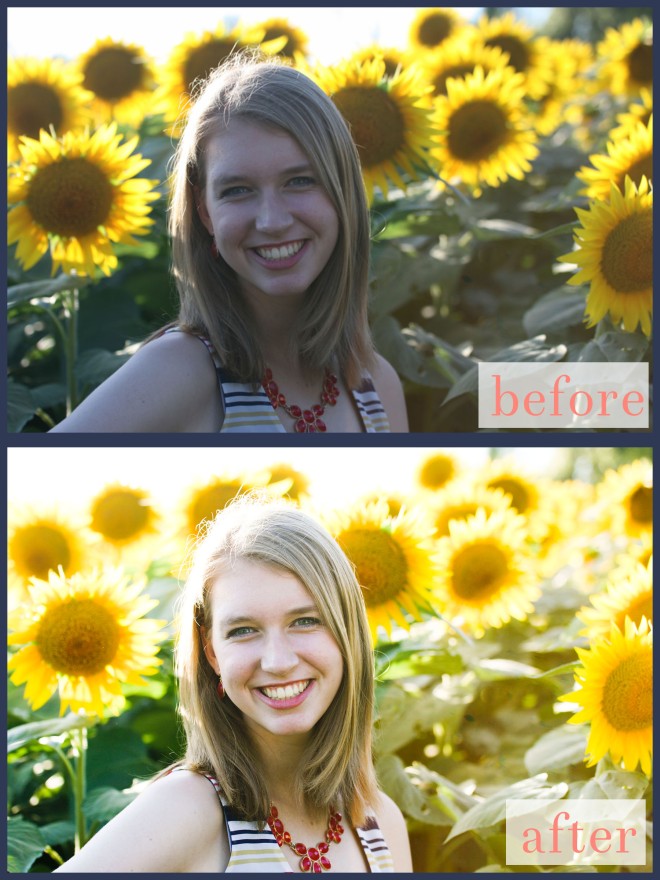
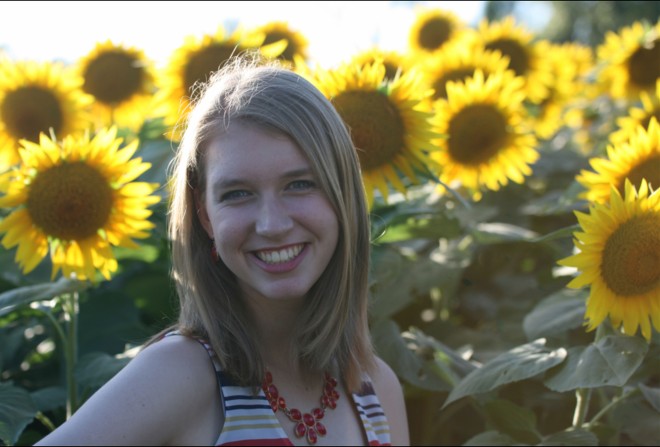
I’m starting with this photograph. The highlights are kind of blown out by the backlighting of the sun and the photo is cooler-toned overall. Not super summery.
I took this photo into Camera Raw in Adobe Bridge–always my first step–and turned up the exposure. While a full stop (+1.15) might seem like a lot, it was definitely necessary. The original photo washed out the details and value, so I then turned up the contrast. There’s a huge difference with the clarity of my eyes in the original photo and the edited photo. To make the photo less blue-hued, I turned the temperature up to give it a warmer, summery feel. I didn’t want to mess with the tint with fear of making my skin look too green or purple-ish.
No matter what photo I edit, portrait or landscape or still life, I always bump up the highlights and take down the shadows. I do the same thing with the whites and the blacks. This always gives me great contrast without looking too grainy. I was going to mess with the clarity, but it made my skin tone look weird. I only turned the vibrance and saturation up a tiny bit with fear of making the sunflowers look too fake and like a middle schooler edited it with a rainbow filter.
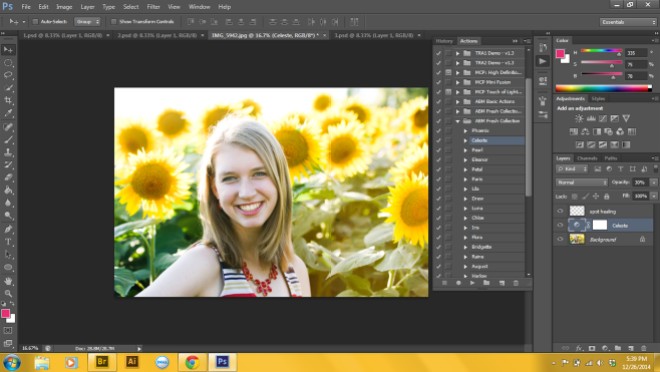
After making my primary edits in Camera Raw, I opened up the photograph in Photoshop. I used the Spot Healing tool on a few blemishes I wanted to remove on a new layer. Then, I used A Beautiful Mess’s Fresh Action, Celeste, to bump up the contrast even more. It was too much at 100% though, so I turned it down to 30%.
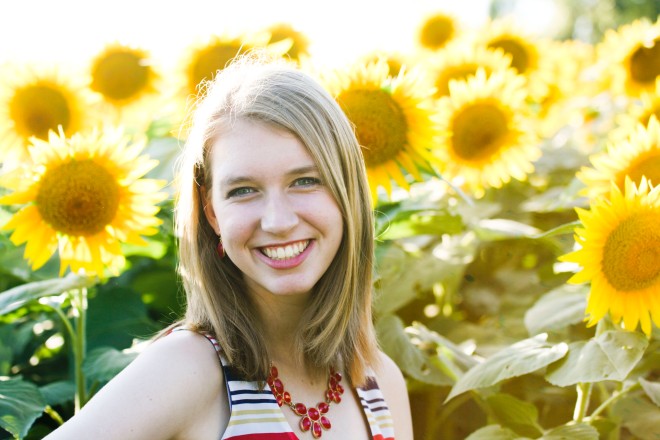
Here’s my final photo! While it seems like this took a ton of time, it only took me about 3 minutes tops. If you have any questions just comment, I’d love to help!
